Welcome to the Husqvarna Viking sewing machine guide! This computerized sewing machine offers versatile stitches‚ advanced features‚ and user-friendly controls‚ making it ideal for both beginners and experienced sewists.
1.1 Overview of the Machine and Its Features
The Husqvarna Viking sewing machine is a computerized‚ user-friendly appliance designed for home use. It features a variety of stitches‚ including utility‚ decorative‚ and stretch options. The machine includes an LCD screen for easy navigation‚ a built-in needle threader‚ and thread cutter for convenience. Customizable stitch settings‚ such as length and width‚ allow for precise control. Its intuitive interface and advanced features make it suitable for both beginners and experienced sewists.
1.2 Importance of Reading the Instruction Manual
Reading the instruction manual is crucial for understanding the machine’s features‚ safety guidelines‚ and proper operation. It provides detailed steps for setup‚ troubleshooting‚ and maintenance‚ ensuring optimal performance. The manual also highlights advanced features and customization options‚ helping users maximize their sewing experience. By following the guidelines‚ users can prevent accidents‚ resolve common issues‚ and extend the machine’s lifespan.
Safety Precautions and Instructions
Always follow safety guidelines to ensure safe operation. Keep the machine away from water‚ avoid overloading‚ and unplug it when not in use. Compliance with IEC/EN 60335-2-28 and UL1594 standards ensures reliability and user protection. Proper usage as described in the manual is essential for preventing accidents and maintaining efficiency.
2.1 General Safety Guidelines
Read all instructions carefully before using the Husqvarna Viking sewing machine. Keep it away from water and ensure proper ventilation. Avoid overloading the machine and never leave it unattended while plugged in. Use only recommended accessories and follow the manual’s guidelines for maintenance. Regularly inspect the power cord and avoid using damaged accessories. Always unplug the machine after use to ensure safety and prevent accidents.
2.2 Electrical Safety Tips
Always keep the sewing machine away from water and moisture to prevent electrical hazards. Ensure the power cord is undamaged and avoid overloading circuits. Use only the recommended voltage and never touch electrical parts with wet hands. Unplug the machine when not in use or during maintenance. Follow the manual’s guidelines for electrical connections and ensure compliance with safety standards like IEC/EN 60335-2-28 and UL1594 for safe operation.
Setting Up the Sewing Machine
Begin by unpacking and inspecting the machine for damage. Place it on a stable‚ flat surface and ensure proper ventilation. Connect the power cord securely‚ following the manual’s guidelines.
3.1 Unpacking and Initial Inspection
Begin by carefully unpacking the Husqvarna Viking sewing machine from its box. Inspect the machine and accessories for any visible damage or defects. Ensure all components‚ such as the power cord‚ presser feet‚ and user manual‚ are included. Refer to the packing list in the manual to confirm completeness. Before powering on‚ place the machine on a stable‚ flat surface and ensure proper ventilation.
3.2 Placing the Machine on a Stable Surface
Position the Husqvarna Viking sewing machine on a firm‚ flat‚ and stable surface‚ such as a dedicated sewing table. Avoid uneven or wobbly surfaces to ensure smooth operation. Ensure good ventilation around the machine and keep it away from direct sunlight or moisture. Place it in an area with adequate lighting and sufficient workspace for fabric handling. Always maintain a clean‚ dry surface for optimal performance.
3.3 Connecting the Power Cord
Plug the Husqvarna Viking sewing machine’s power cord into a nearby electrical outlet. Ensure the outlet meets the machine’s voltage requirements. Avoid using extension cords unless necessary. Keep the cord away from moving parts and heat sources. Always unplug the machine when not in use or during maintenance to ensure safety and prevent accidental start-ups. Follow electrical safety guidelines provided in the manual.
Understanding the Machine Components
Explore the Husqvarna Viking sewing machine’s components‚ including the LCD screen‚ stitch options‚ customizable controls‚ and built-in tools for enhanced productivity.
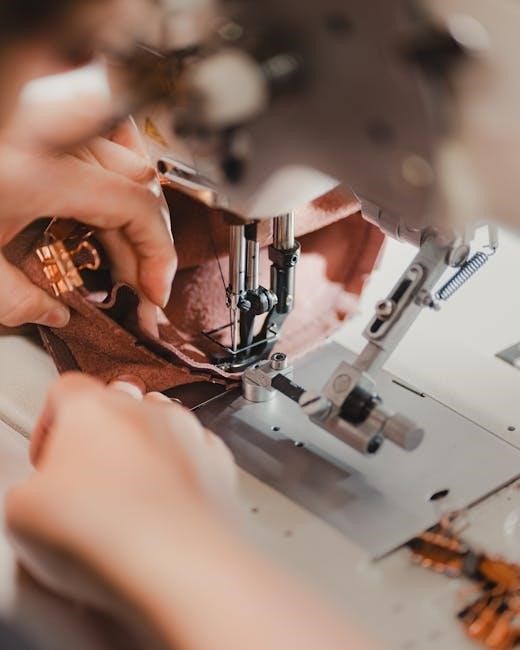
4.1 Identifying Key Parts and Controls
Familiarize yourself with the Husqvarna Viking sewing machine’s key components. Locate the LCD screen‚ which displays stitch settings and guides. Identify the stitch selection buttons‚ thread tension dials‚ and foot control pedal. The needle threader and thread cutter simplify setup. Understand the reverse stitch button and speed control for precise sewing. Explore the accessory compartment for additional presser feet and tools.
4.2 Exploring the LCD Screen and Stitch Options
The LCD screen displays stitch selections‚ settings‚ and guidelines. Use navigation buttons to browse through various stitch options‚ including utility‚ decorative‚ and stretch stitches. The Stitch Advisor feature recommends optimal settings for different fabrics. Customize stitch length and width to suit your needs. Save your favorite stitches for quick access‚ enhancing your sewing experience with precision and ease.
Threading and Tensioning the Machine
Proper threading and tensioning are essential for smooth operation. Use the built-in needle threader for effortless threading. Adjust tension settings to ensure balanced stitches and prevent fabric pulling.
5.1 Step-by-Step Threading Guide
Turn on the machine and pull the thread from the spool. 2. Guide the thread through the spool pin and tension discs. 3. Loop the thread around the take-up lever. 4. Insert the thread into the needle bar groove. 5. Leave a small thread tail and cut excess. 6. Use the built-in needle threader for easier needle threading. Ensure the thread is seated properly before sewing.
5.2 Adjusting Thread Tension for Optimal Sewing
Locate the tension dials on the machine‚ typically near the tension discs or take-up lever. 2. Turn the dial to increase or decrease tension. 3. Test on scrap fabric; stitches should be balanced. 4. Adjust the upper and bobbin tension separately if needed. 5. Ensure even tension to prevent fabric puckering or loose stitches. Proper tension ensures smooth sewing performance.
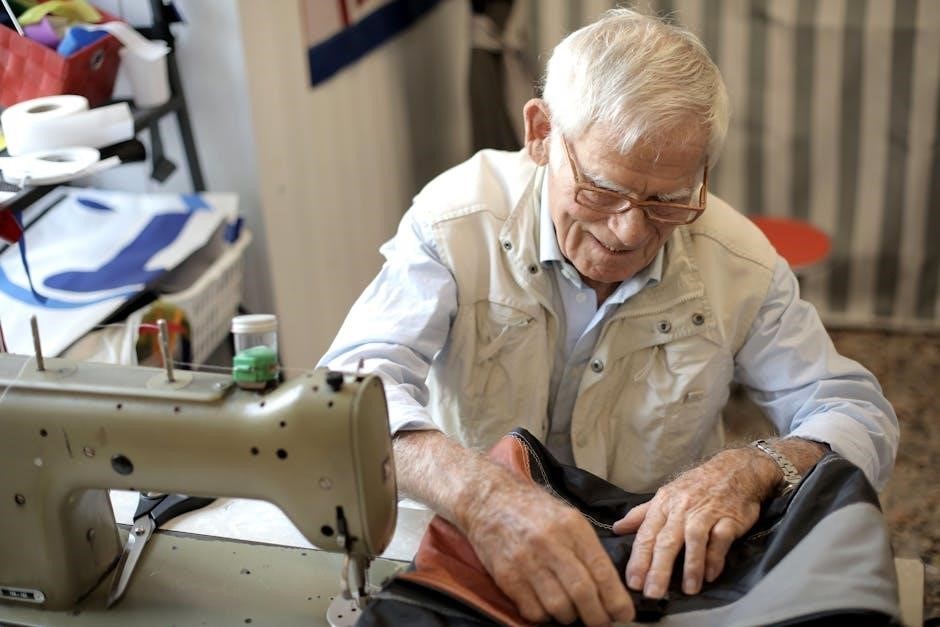
Basic Sewing Operations
Power on the machine‚ select your desired stitch type using the LCD screen‚ and adjust the speed control. Begin sewing by gently pressing the start button or using the foot pedal. Guide the fabric smoothly under the needle for even stitching. Use the built-in needle threader for quick setup. Always test stitches on scrap fabric before sewing your final project.
6.1 Selecting the Right Stitch for Your Fabric
Choose the appropriate stitch based on fabric type. For lightweight fabrics‚ use straight or zigzag stitches. Heavy-duty fabrics require stronger‚ dense stitches. The LCD screen displays stitch options‚ allowing you to select utility‚ decorative‚ or stretch stitches. Test stitches on scrap fabric to ensure proper tension and fabric compatibility. Adjust stitch length and width as needed for optimal results. Always refer to the machine’s guide for fabric-specific recommendations.
6.2 Starting and Stopping the Machine
To start‚ ensure the machine is placed on a stable surface and the power cord is properly connected. Press the start/stop button or use the foot pedal to begin sewing. For stopping‚ press the start/stop button again or release the foot pedal. Always ensure the needle is clear of fabric before stopping. Turn off the machine when not in use and unplug it for safety.
Advanced Features and Customization
Discover advanced features like built-in needle threader‚ thread cutter‚ and LCD stitch selection. Customize stitch length‚ width‚ and density for personalized sewing experiences.
7.1 Using the Built-In Needle Threader and Cutter
The Husqvarna Viking sewing machine features an automatic needle threader and built-in thread cutter for effortless threading. Simply guide the thread through the machine’s built-in system‚ and the threader will do the work for you. The cutter conveniently trims excess thread‚ saving time and reducing eye strain. This feature is especially helpful for users who find manual threading challenging.
7.2 Customizing Stitch Length and Width
The Husqvarna Viking sewing machine allows you to customize stitch length and width to suit your fabric and project needs. Use the LCD screen to adjust settings‚ ensuring precise control. Longer stitches are ideal for thick fabrics‚ while shorter stitches work best for delicate materials. Adjusting the width enables perfect alignment for decorative or utility stitching‚ enhancing your sewing experience with versatility and accuracy.
Troubleshooting Common Issues
Troubleshooting common issues is essential for maintaining your Husqvarna Viking sewing machine’s performance. This section helps identify and resolve problems like thread breakage and tension imbalance‚ ensuring smooth and consistent stitching.
8.1 Diagnosing and Solving Thread Breakage
Thread breakage can be frustrating but is often easy to fix. Start by checking the thread tension and ensuring the needle is properly aligned. If the thread is too tight or improperly threaded‚ it may snap. Re-thread the machine following the manual’s guide‚ and adjust tension settings. Inspect for debris or damage to the thread or needle‚ replacing them if necessary. Regular cleaning and proper usage can prevent future issues.
8.2 Resolving Tension Imbalance Problems
Tension imbalance can cause uneven stitching. Adjust the bobbin and top thread tension according to the manual’s guidelines. Ensure the thread is of good quality and properly threaded. If issues persist‚ clean the machine to remove debris and inspect the needle for damage. Regular maintenance and correct thread usage will help maintain balanced tension for smooth sewing operations.
Maintenance and Cleaning
Regularly clean the machine to remove lint and debris‚ ensuring smooth operation. Lubricate moving parts as instructed in the manual to maintain performance and extend machine lifespan.
9;1 Regular Cleaning of the Machine
Turn off and unplug the machine before cleaning. Use a soft brush to remove lint from the bobbin area‚ feed dogs‚ and stitch plate. Gently wipe the exterior with a damp cloth‚ avoiding harsh chemicals. Regularly inspect and clean the needle bar and presser foot area to ensure smooth operation. This maintenance prevents dust buildup and keeps the machine functioning optimally.
9.2 Lubricating the Machine for Smooth Operation
Regular lubrication ensures the machine runs smoothly. Refer to the manual for locations to apply oil‚ typically near moving parts like the hook race or gears. Use the provided oil packet or compatible sewing machine oil. Gently turn the handwheel to distribute the oil evenly. Avoid over-lubricating‚ as excess oil can attract dust. Clean the machine before lubricating to prevent residue buildup and maintain optimal performance.
Accessories and Optional Equipment
Enhance your sewing experience with genuine Husqvarna Viking accessories‚ such as specialized presser feet‚ extension tables‚ and additional stitch guides. These tools expand the machine’s capabilities and improve precision for various sewing projects. Visit authorized retailers or the official Husqvarna Viking website to explore compatible accessories tailored to your machine model.
10.1 Recommended Accessories for Enhanced Functionality
Enhance your sewing experience with Husqvarna Viking’s recommended accessories. Specialized presser feet optimize fabric handling‚ while an extension table offers extra work space. Additional stitch guides ensure precise stitching. These tools are designed to boost creativity and efficiency. Available at authorized retailers or the official website‚ they are tailored to your machine‚ ensuring optimal performance and versatility in your projects.
10.2 Installing and Using Additional Presser Feet
Install additional presser feet to expand your sewing capabilities. Snap-on feet are easy to attach and detach. For specialized tasks‚ use zipper‚ embroidery‚ or walking feet. Refer to your Husqvarna Viking manual for installation steps. These accessories enhance fabric control and precision‚ allowing you to handle various materials with ease. Visit the official website or authorized retailers for genuine presser feet designed for your machine.
Refer to the official Husqvarna Viking website for additional resources‚ updates‚ and support. Explore PDF manuals‚ troubleshooting guides‚ and accessory information to enhance your sewing experience. Thank you!
11.1 Summary of Key Instructions
Always prioritize safety‚ read the manual thoroughly‚ and follow setup guidelines. Understand machine components‚ thread correctly‚ and use appropriate stitches. Start and stop gently‚ explore advanced features‚ and maintain regularly. Troubleshoot issues promptly and refer to resources for support. These steps ensure optimal performance and longevity of your Husqvarna Viking sewing machine.
11.2 Where to Find Additional Support and Updates
For additional support‚ visit the official Husqvarna Viking website or platforms like ManualsLib for downloadable PDF manuals. Explore community forums‚ user groups‚ and authorized dealers for troubleshooting guides and updates. Regularly check for firmware updates to ensure your machine operates at its best. These resources provide comprehensive assistance to enhance your sewing experience and keep your machine up-to-date.